1.1.1 Installation on PrestaShop 1.4
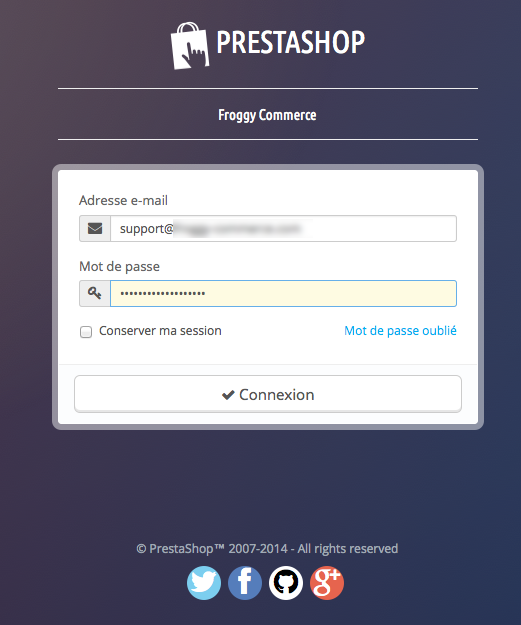
First, connect to your PrestaShop Back Office.
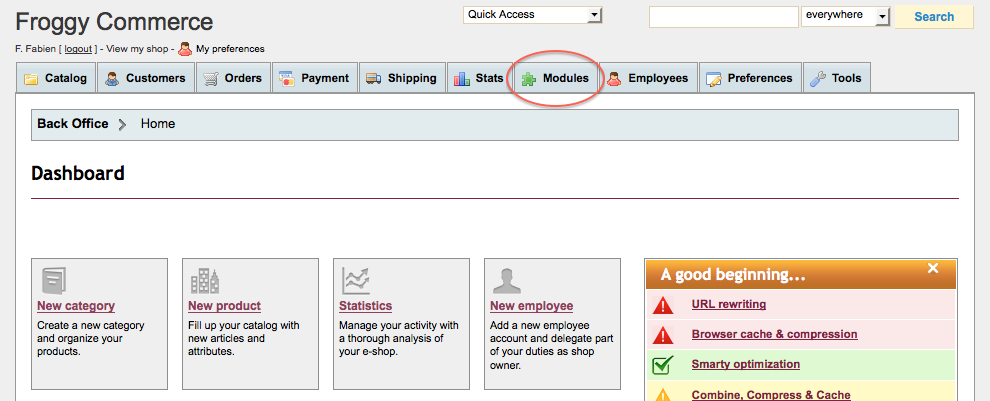
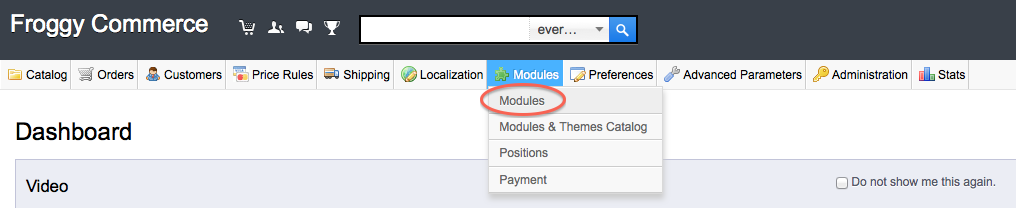
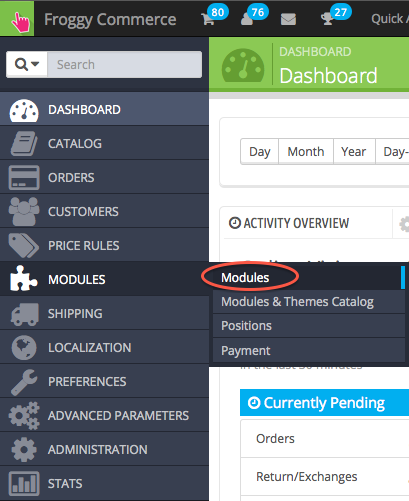
Once connected, go to the “Modules” section.
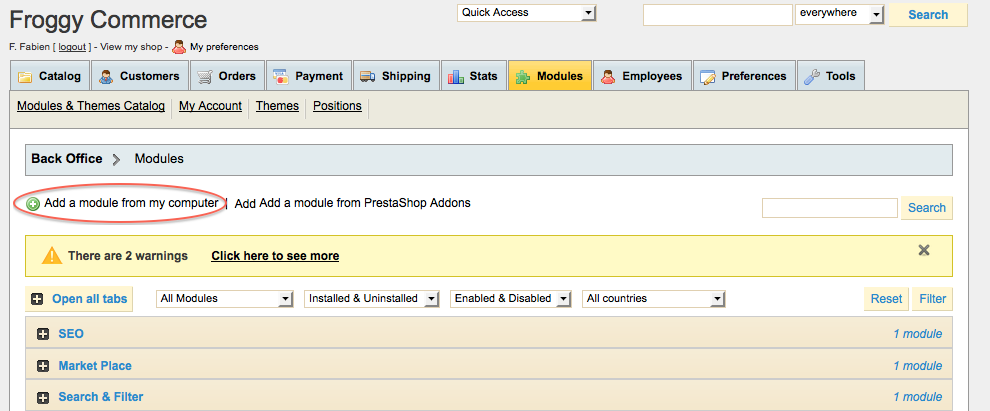
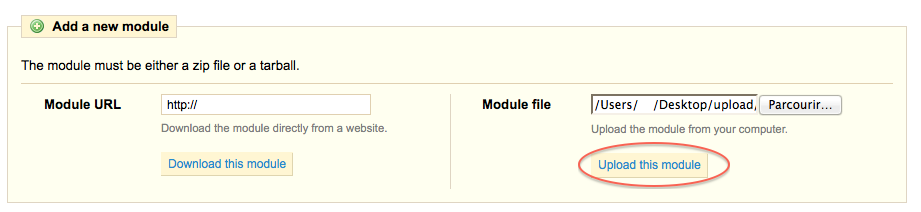
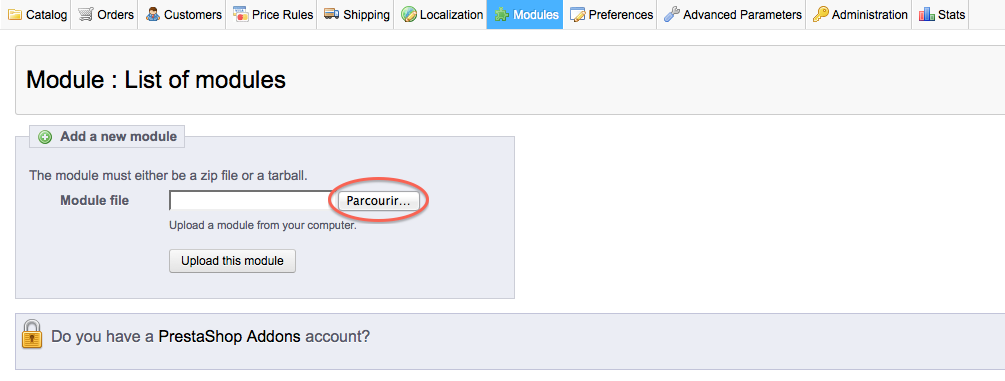
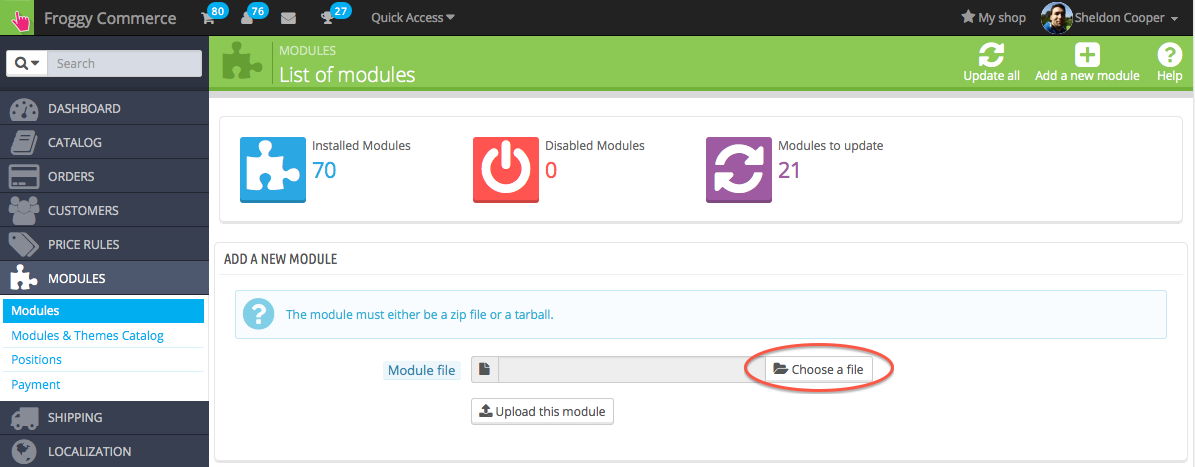
We provided you a file named “sellermania.zip”. You will have to upload it in your module section. To do so, click on the “Add a new module” button.
A new tab should have appeared, click on the “browse” button.
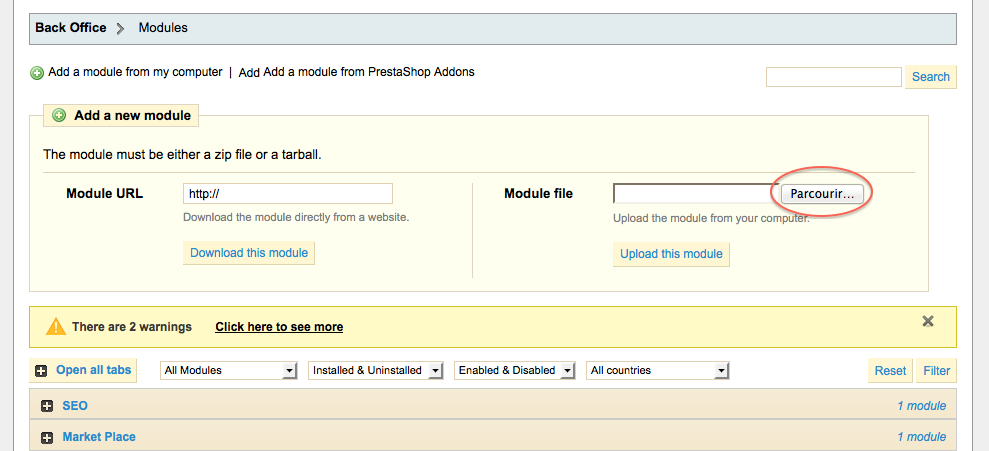
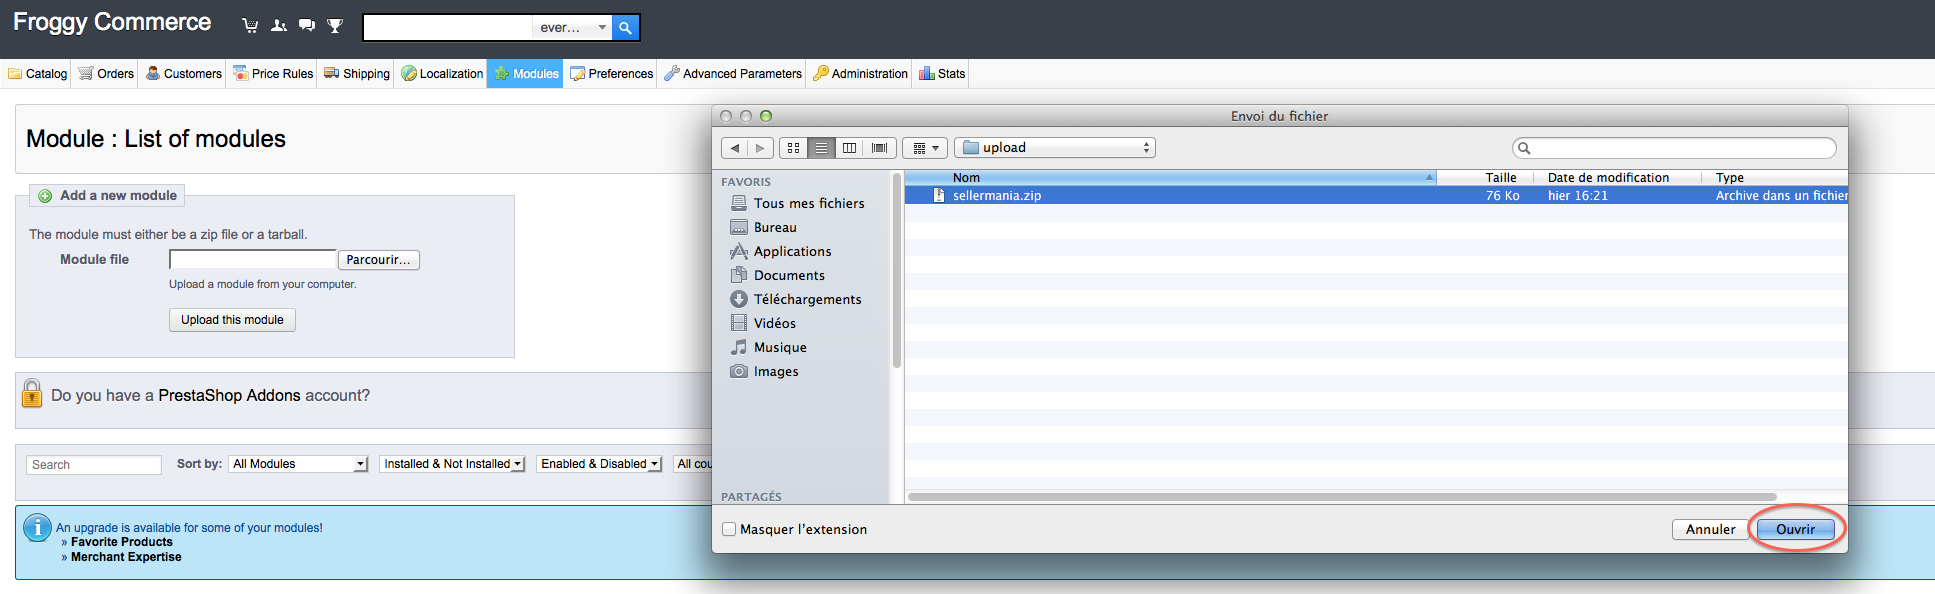
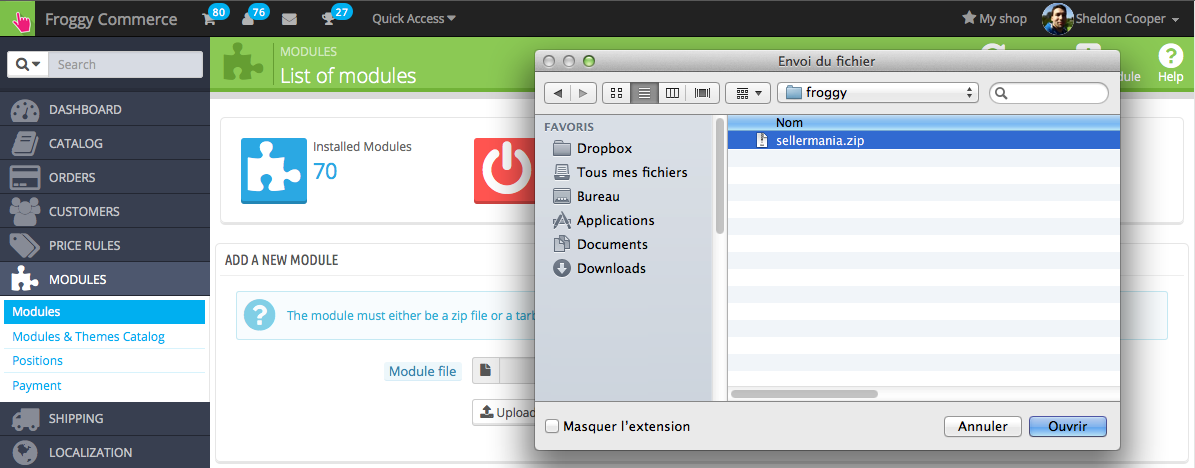
Then select the file “sellermania.zip” and click on “open”.
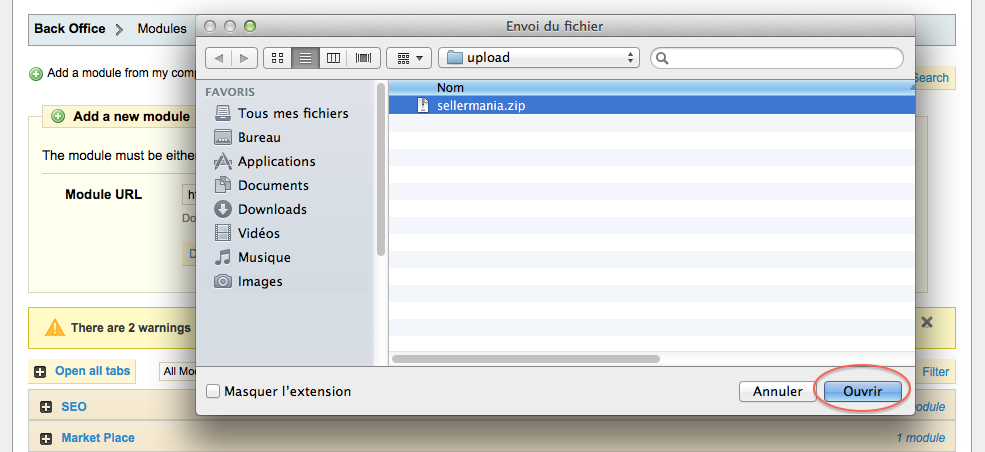
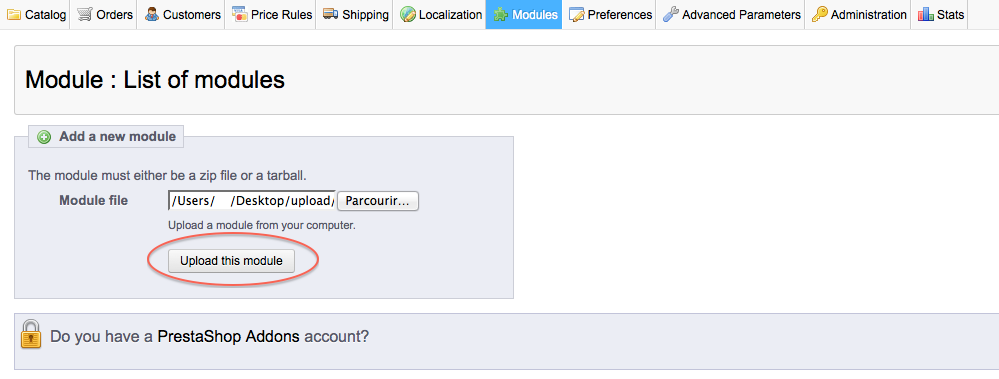
And finally, click on the button “Upload this module”.
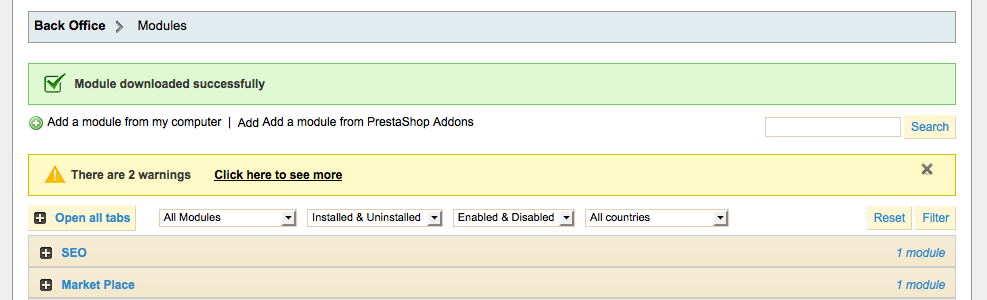
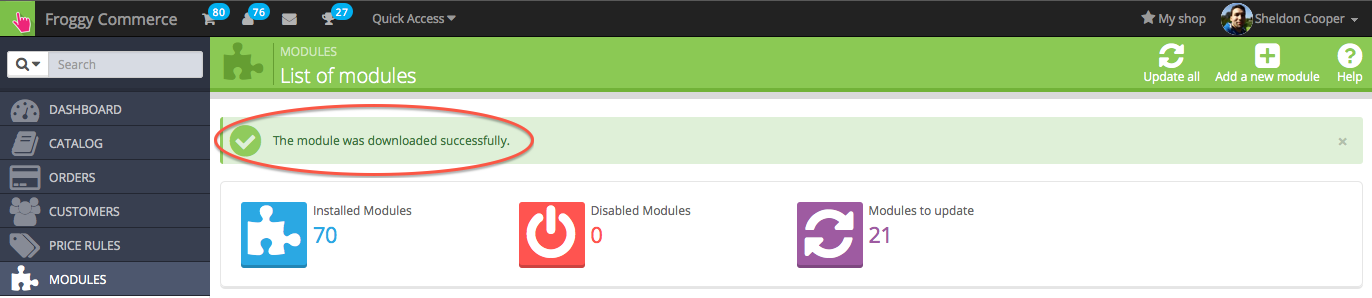
A confirmation message “Module downloaded successfully” should appear.
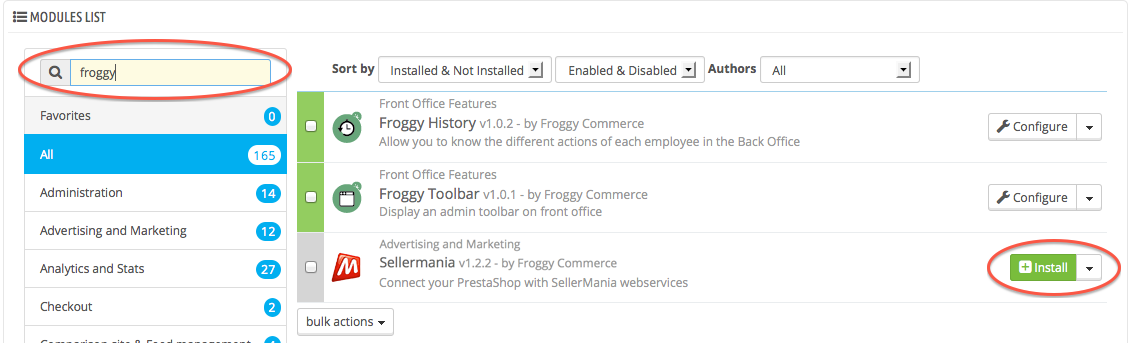
Click on the “Front Office Features” and search for the module “Sellermania” or use the search filter by typing “Sellermania” in it, then click on the “Install” button.
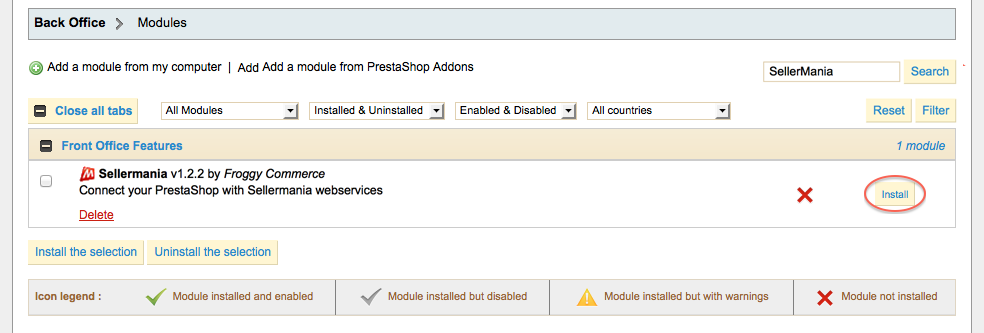
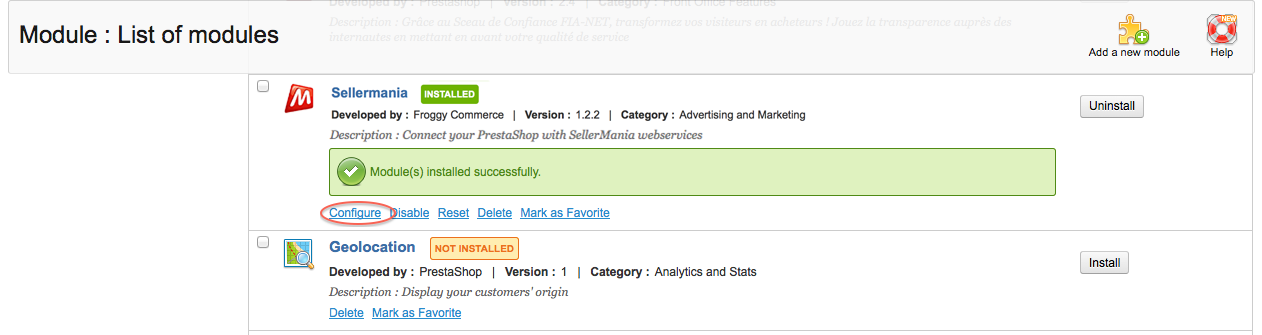
Once you will have clicked on the “Install” button, a confirmation message “Module Installed successfully” should appear. You can now click on the “configure” button.

1.1.2 Update on PrestaShop 1.4
To update your module, you just have to upload the zip file of the new version of the module.
So, first of all, download the last version of the module on our website froggy-commerce.com
Then, as for installation, connect to your PrestaShop Back Office.
Once connected, go to the “Modules” section.
You should have downloaded the updated file named “sellermania.zip”. You will have to upload it in your module section. To do so, click on the “Add a new module” button.
A new tab should have appeared, click on the “browse” button.
Then select the file “sellermania.zip” and click on “open”.
And finally, click on the button “Upload this module”.
A confirmation message “Module downloaded successfully” should appear.
Your module has been updated!
1.2.1 Installation on PrestaShop 1.5
First, connect to your PrestaShop Back Office.

Once connected, go to the “Modules” section.
We provided you a file named “sellermania.zip”. You will have to upload it in your module section. To do so, click on the “Add a new module” button.

A new tab should have appeared, click on the “browse” button.
Then select the file “sellermania.zip” and click on “open”.
And finally, click on the button “Upload this module”.
Your browser should scroll automatically to the new module added, and you should see it at the top of your screen. Now, you can click on the “Install” button.

Once you will have clicked on the “Install” button, a confirmation message “Module Installed successfully” should appear. You can now click on the “configure” button (on some versions of PrestaShop you will be directly redirected to the module configuration just after installation).
1.2.2 Update on PrestaShop 1.5
To update your module, you just have to upload the zip file of the new version of the module.
So, first of all, download the last version of the module on our website froggy-commerce.com
Then, as for installation, connect to your PrestaShop Back Office.
Once connected, go to the “Modules” section.
You should have downloaded the updated file named “sellermania.zip”. You will have to upload it in your module section. To do so, click on the “Add a new module” button.
A new tab should have appeared, click on the “browse” button.
Then select the file “sellermania.zip” and click on “open”.
And finally, click on the button “Upload this module”.
Your browser should scroll automatically to the new module added, and you should see it at the top of your screen. You DO NOT uninstall / reinstall your module.

Your module has been updated!
1.3.1 Installation on PrestaShop 1.6
First, connect to your PrestaShop Back Office.
Once connected, go to the “Modules” section.

We provided you a file named “sellermania.zip”. You will have to upload it in your module section. To do so, click on the “Add a new module” button.

A new tab should have appeared, click on the “browse” button.
Then select the file “sellermania.zip” and click on “open”.
And finally, click on the button “Upload this module”.

A confirmation message will appear.
At last, write "Froggy" in the search field, all Froggy modules will appear. Then click on the "install" button of the module you just uploaded. You will be automatically redirected to the module configuration page.
1.3.2 Update on PrestaShop 1.6
To update your module, you just have to upload the zip file of the new version of the module.
So, first of all, download the last version of the module on our website froggy-commerce.com
Then, as for installation, connect to your PrestaShop Back Office.
Once connected, go to the “Modules” section.
You should have downloaded the updated file named “sellermania.zip”. You will have to upload it in your module section. To do so, click on the “Add a new module” button.
A new tab should have appeared, click on the “browse” button.
Then select the file “sellermania.zip” and click on “open”.
And finally, click on the button “Upload this module”.
A confirmation message will appear.
Your module has been updated!
Once you clicked on the “configure” button, you should see this screen:

You can navigate in the module by clicking on the different section name above the documentation link.
First section, export catalog feature:
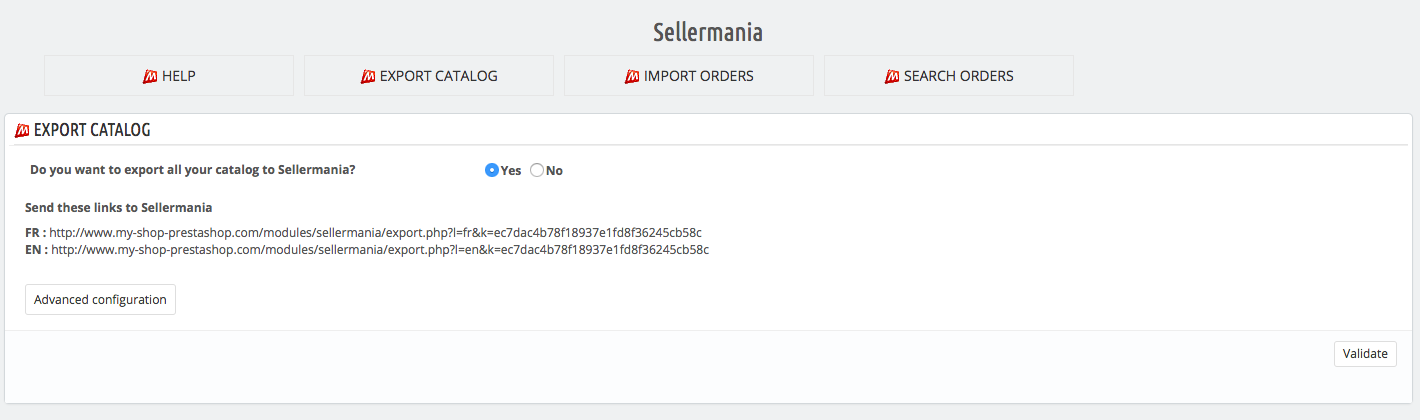
To send your catalog to Sellermania, you have two solutions :
Advantage: You do not need any help from a technician or your hosting provider, you just have to copy / paste the links to Sellermania.
Disadvantage: Depending when Sellermania collect your catalog, it can slow down your server, especially if it’s during a heavy charge of visitors.
Then give the path of your CSV files for each language to Sellermania (as you can see, path are provided by the module, you just have to copy / paste them to Sellermania).
Advantage: The catalog CSV generation can require some resources of your server, therefore generate your catalog during the night, when your traffic is low, is a good idea.
Disadvantage: You have to set the cron task and it’s not easy when you’re not a technician. You can either ask your hosting provider to do it for you, or read some wiki to do it by yourself (sometimes hosting provider have an interface which permits you to handle your crontask).
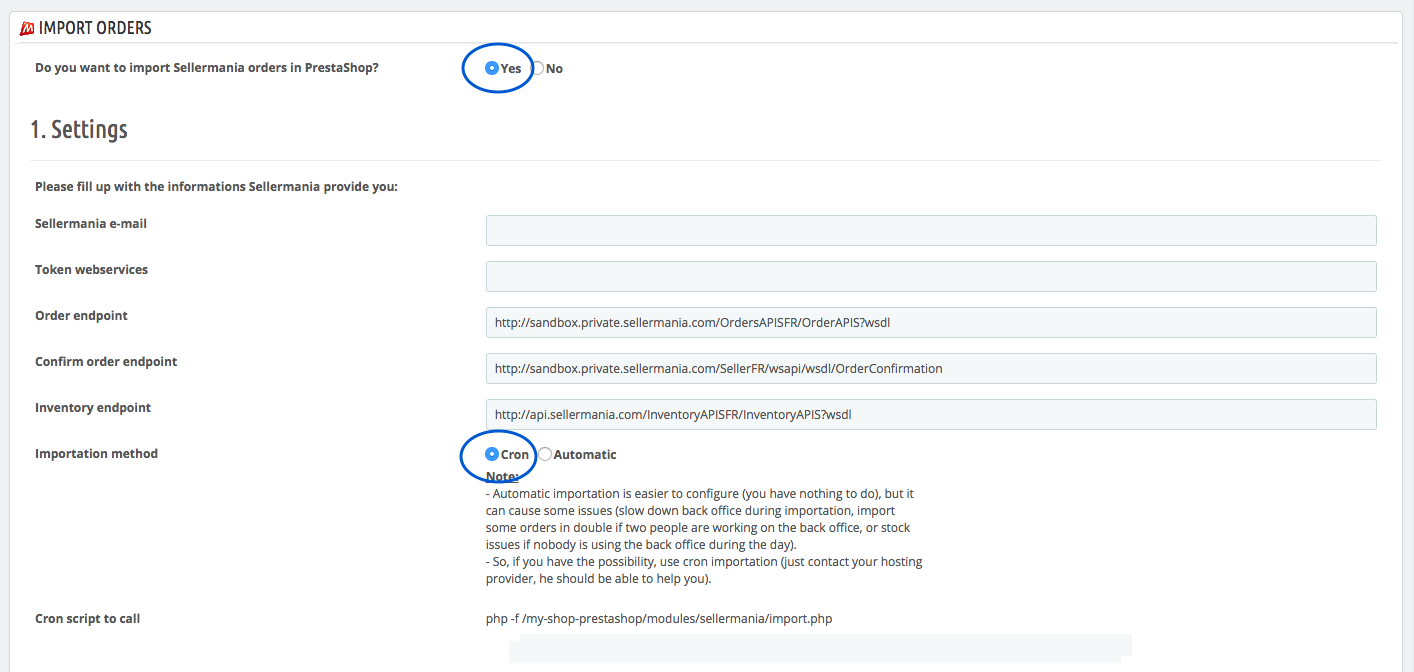
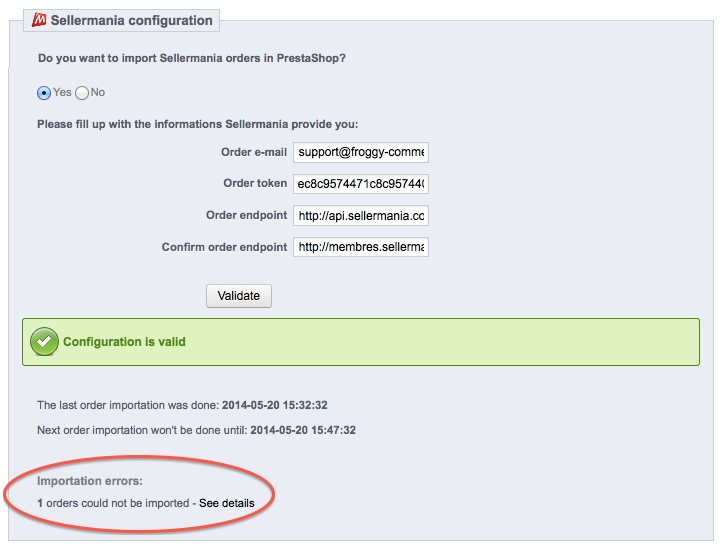
If you want to import Sellermania orders in your back office, you have to check “yes” on the first tab of your module and then fill the fields with the data Sellermania provided you.
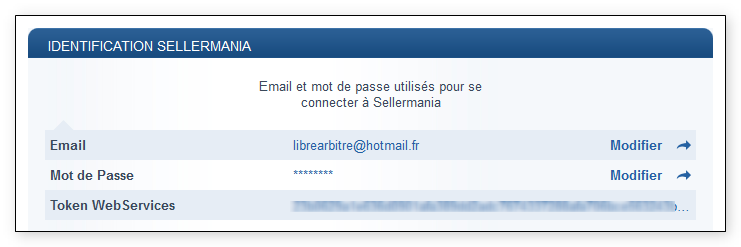
You will find the "e-mail" and "token" values in the "SELLERMANIA IDENTIFICATION" section of your Sellermania interface.
It is highly recommanded to use the cron importation method for the reason described in the module.
The "endpoint" fields should be prefilled in your module configuration with these values:
- "Order endpoint": http://api.sellermania.com/v3/OrdersAPIS?wsdl
- "Order confirmation endpoint": http://membres.sellermania.com/wsapi/wsdl/OrderConfirmation
- "Order inventory endpoint": http://api.sellermania.com/v3/InventoryAPIS?wsdl
When you click on the “validate” button a test connection is done to Sellermania. If logins are wrong, you will be alerted by a warning message.

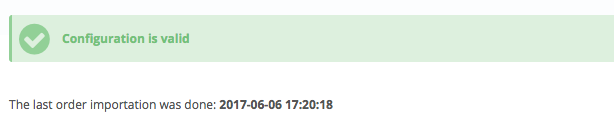
If your logins are corrects, then a confirmation message will be displayed as the date of the last and next order importation.
If you scroll down this page, you will see that you have many configurations available such as marketplaces selection.
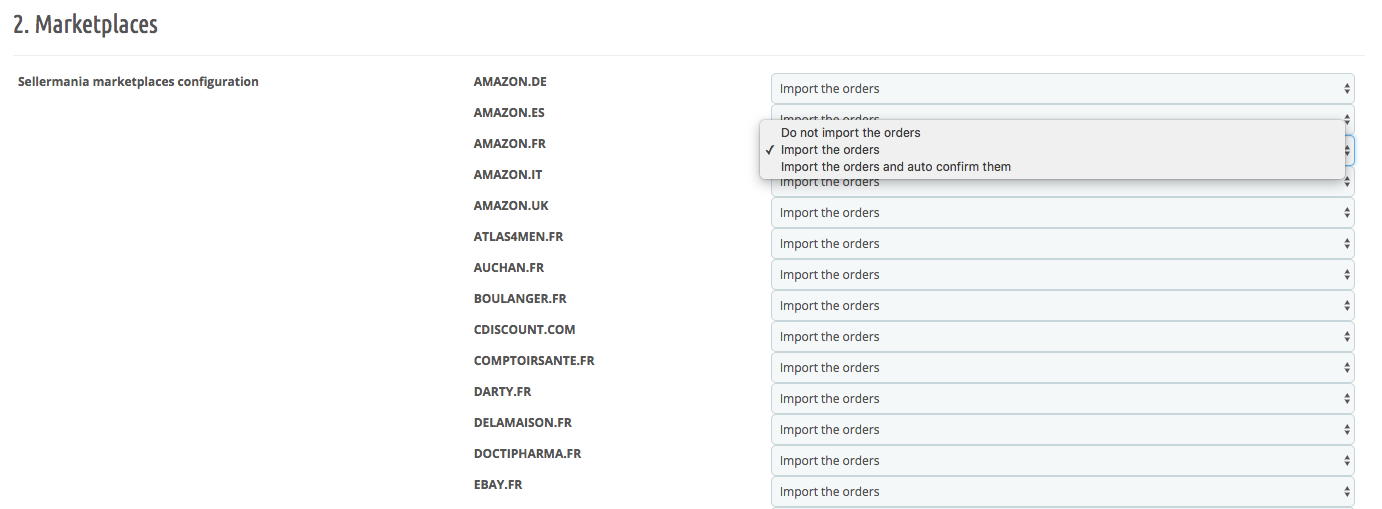
For each marketplace, you can choose if you want to import orders or not, or even confirm orders automatically.
If you continue to scroll down, you will arrive on section 3 (options), all features are described in the module directly.
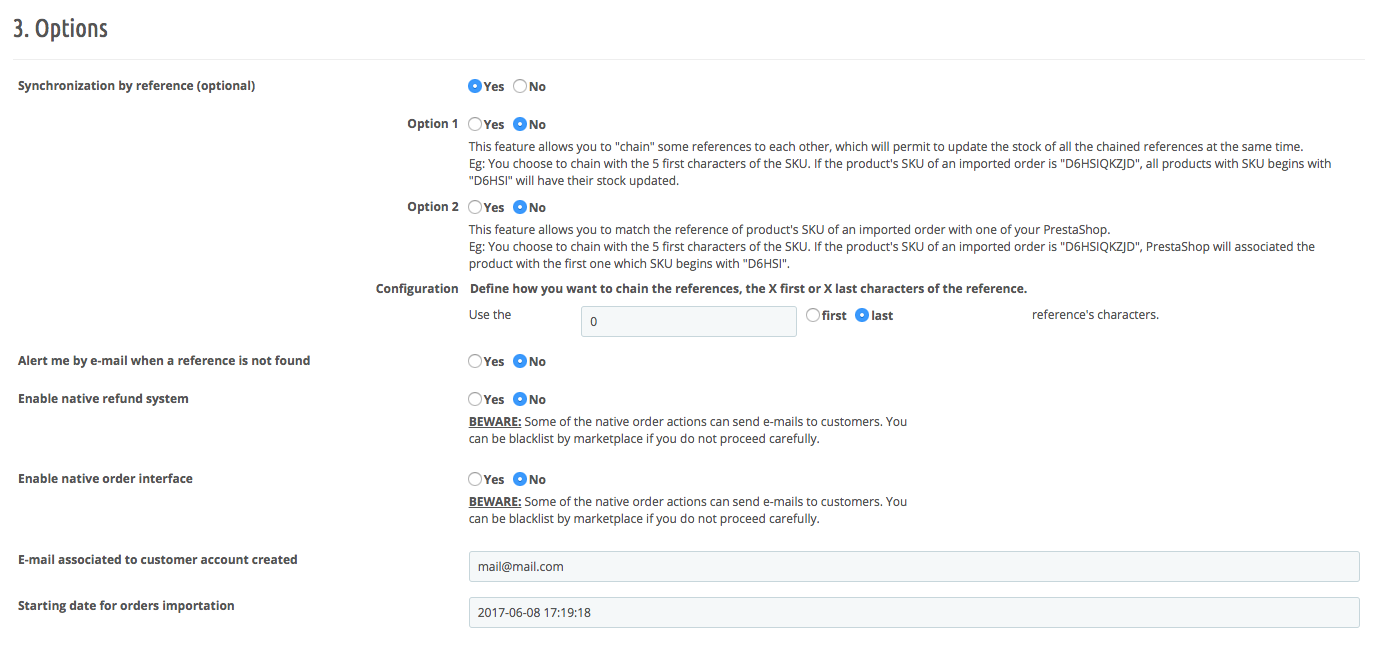
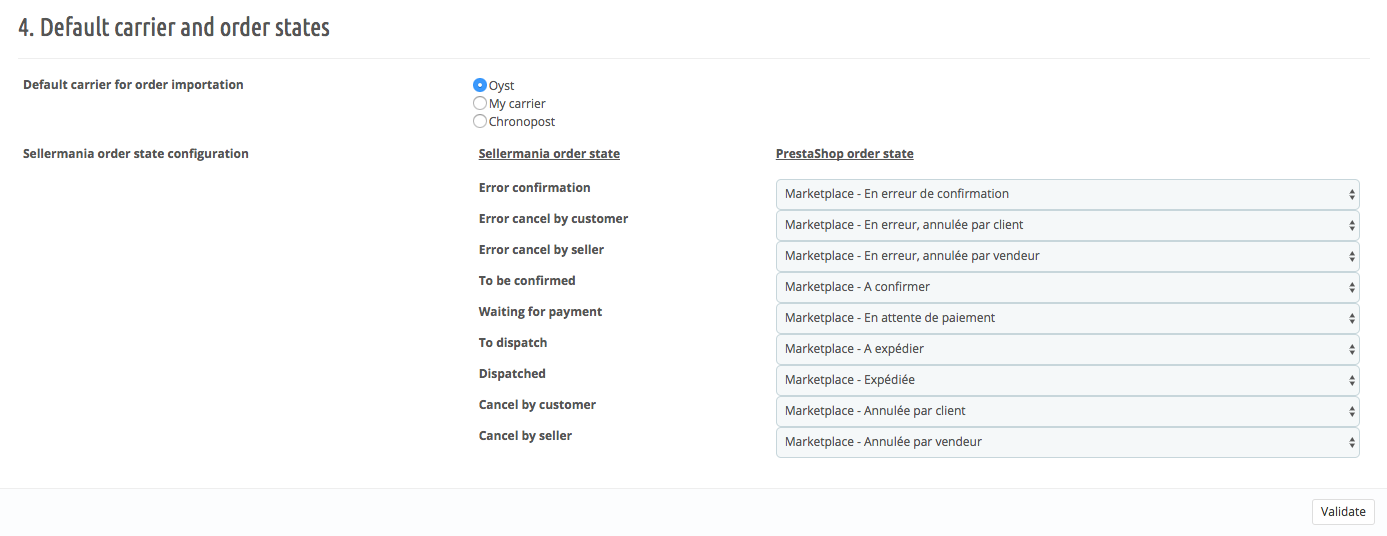
At last, you have the section 4 (carrier and status), where you can set the status you want for you marketplace orders and carrier associated to them.
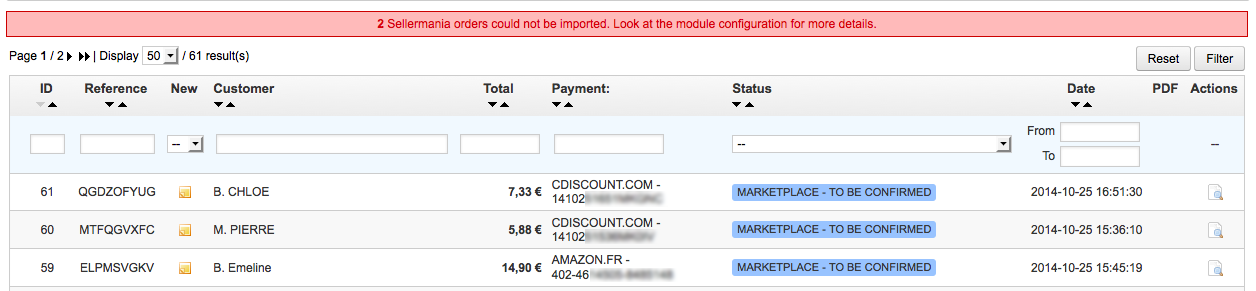
Now click on the menu “Orders” of your back office. We will see the imported orders in this section.
The marketplace will be clearly tagged with the order status. The marketplace and the order reference will be indicated in the “Payment” column.

Orders are imported from the installation date. If you installed your module the 2014-02-04 12:42:23, only orders placed after this date will be imported. (This date is now editable in your module configuration.)
The Sellermania module imports 100 orders maximum every 15 minutes. Importation is triggered if an action (any action) is made in the back office.
In others words, if no you're not active on your back office, there will be no orders importation until you become active again.
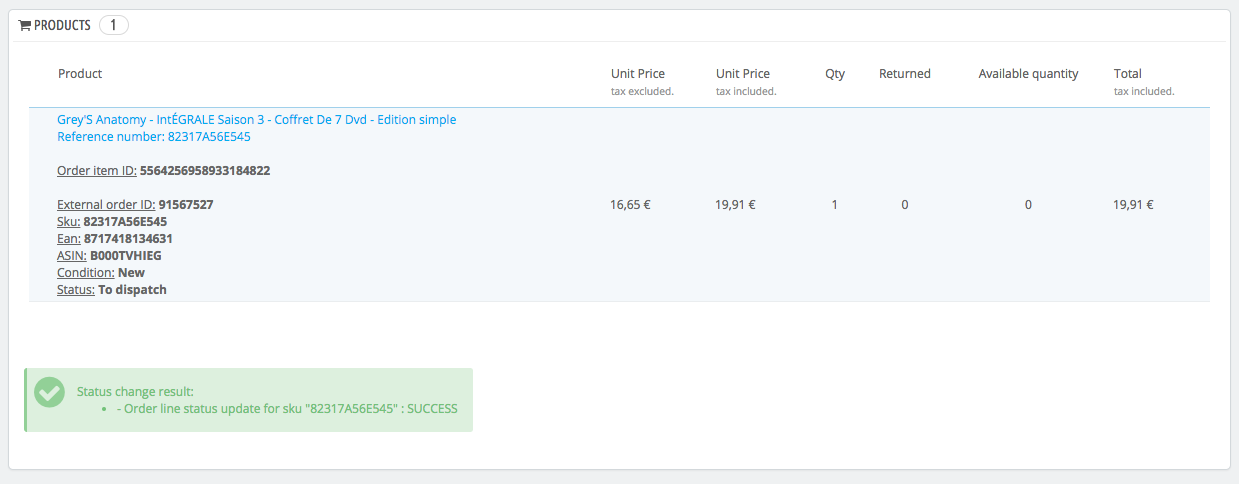
If you click on an imported order from Sellermania, you will see that the display is different from classic PrestaShop order.
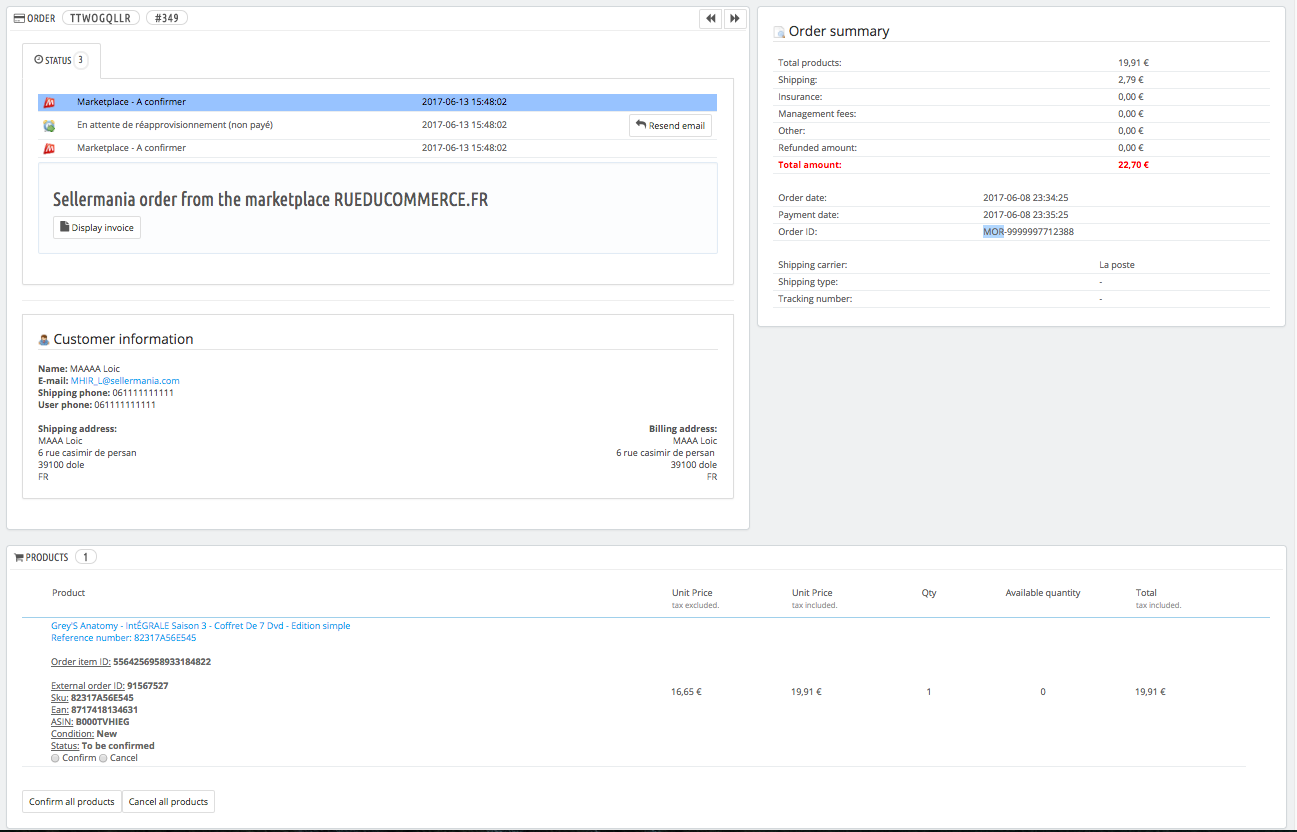
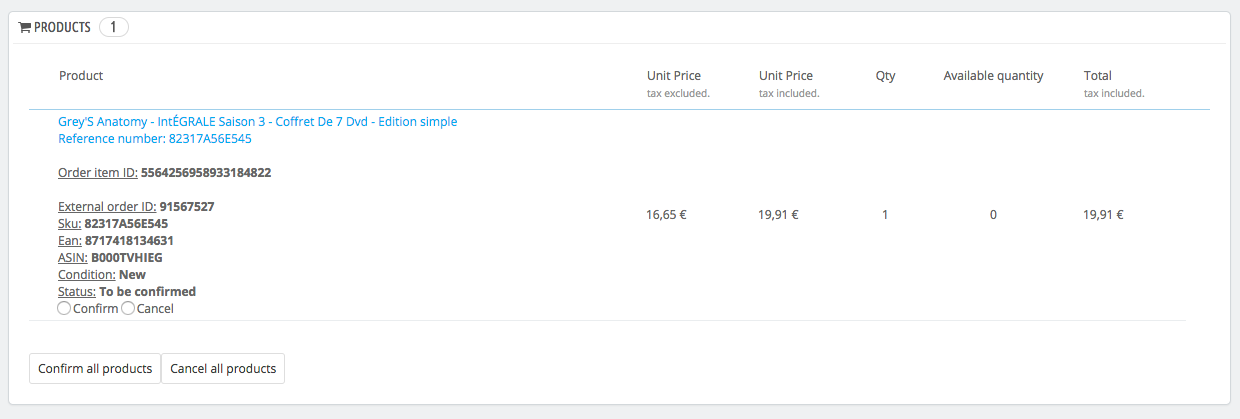
You will have to confirm or cancel each product of the order.
If you cancel all the products, the order will automatically get the “Cancelled” status.
If you cancel only some of the products, the total and the shipping will be recalculated.
You can use the “Confirm all products” or “Cancel all products” button to go quicker. It will only preselect the choice for each product line.
As soon as you will have selected an option for one product line, a new button “Register status” will appear.
If you click on this button, your choices will be sent to Sellermania and a confirmation message will appear.
The order global status will change once you will have confirmed or cancelled each line
Case 1: All order lines are cancelled, the order global status will be "CANCELLED"
Case 2: Some order lines are cancelled, others are confirmed, the order global status will be "SELLERMANIA - ORDER CONFIRMED"
Case 3: All order lines are confirmed, the order global status will be "SELLERMANIA - ORDER CONFIRMED"

Now you have to wait a return of Sellermania concerning this order. When the status of your confirmed products will be “To dispatch”, then you will be able to fill the carrier name and the tracking number.

Once you will have fill the tracking number and carrier name, the order global status will become "SELLERMANIA - ORDER SENT".

Bulk confirmation and expedition are also available from the orders list.

Sometimes, the module won't be able to import some orders from Sellermania. If it happens, you will see a small warning message appear on the orders list page displaying the number of orders that could not be imported.
You will be able to get more information in the module configuration page.
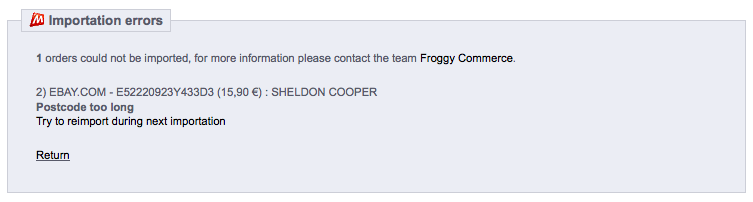
If you click on "See details", you will be able to see the list of the orders which could not be imported.
Please contact Froggy Commerce technical support with all the details written in this same page.
Since version 1.1.2 of the Sellermania module, you have now a field named "Inventory endpoint" in the module configuration form.
The value to set in this field is: http://api.sellermania.com/InventoryAPISFR_11_12_2017/InventoryAPIS?wsdl
Stock synchronization with Sellermania occured when:
- An order is placed on PrestaShop
- An product stock is updated on PrestaShop
- An product combination stock is updated on PrestaShop
This feature is optional, if you do not fill the "Inventory endpoint" field, stock synchronization won't be enabled.
I installed the Sellermania module and I see a message "Not generated yet" beside the export feed link, what is the problem?
This message means you have not programmed the cron task yet that generate the export feed. However, this is not mandatory, please refer to section #2.
I use direct export direct link and I keep having a blank page with the message "ERROR1", "ERROR2" or "ERROR3"?
This error should never happen, please be sure to copy/paste the full url in your browser.
If you copy/paste the full url and if it ends with "&k=", it means the security token has not been generated. At this point, the only solution is to uninstall and reinstall the module.
If it is still not working, please contact us by using the website contact form. Be sure to send us the export feed link and a screenshot of your module configuration page where the links are displayed.
If you have already imported some orders from Sellermania and have issues with export feed, please do not uninstall your module and contact us directly. Be sure to send us the export feed link and a screenshot of your module configuration page where the links are displayed.
Why does the merchant e-mail address is associated to the imported orders instead of the customer e-mail?
Many marketplaces provide alias e-mail instead of customer e-mail. If you send e-mail to these e-mail address, it can result with a banishment of your account on the marketplace.
That's why we associate the e-mail merchant to the customer account to avoid mail sent automatically by PrestaShop
However, you can still use the e-mail alias provided by the marketplace at your own risk, you can find it on the order details screen.
How I can retrieve a PDF Invoice, Delivery document or credit document?
These features are not available in our module yet. We do not have any release date for these features yet.
Why does the customer firstname and lastname are reversed?
The marketplaces send us the firstname and lastname as one field and sometimes the lastname is placed before the firstname.
The module splits the names in two fields to register it in PrestaShop so unfortunately we can do anything about this problem.
It seems that some of my orders are not imported, what can I do?
Before contacting us you should perform these actions:
1) Check that your module is up to date, we are releasing update time to time and it could fix your issue. If not, update your module.
2) Check if the orders are present in the Sellermania interface. If not, the problem is coming from Sellermania, you should contact them.
3) At last, in the module configuration, check if orders importation error are reported (see section 3.3). If yes, send us the report displayed.